

I just finished a fun, simple project — painting a glückhaus board on the lid of a wooden box that I can use to store all my historical games! I’ve been thinking about a better way to store my historical games for a while. I had used various pouches and bags in the past, but didn’t like the feeling of infinitely nesting bags. At some point I must have seen someone else’s games box with a board painted on the lid and fallen in love with the idea.
Glückhaus (also spelled glückshaus) happens to be my very favorite historical game. It’s dead simple and clearly designed to be played while drinking and talking, requiring no strategy or even your full attention. Here’s a nice one-page guide to gameplay; roll the dice, place or take a coin, and several numbers have special actions. Most of the examples I’ve seen of historical (and re-enactor made) glückhaus boards are rather complex, but I liked the more simple design of one shown in the Wikipedia article linked above and used that as the basis for mine.

I used a wine gift box and a set of primary color acrylic paints, and aside from procrastination it was easy to finish by stealing a few minutes here and there during the evenings after my baby went to bed. It took me a while to find a box that I liked, but otherwise all the supplies for this are readily available at any craft store, or easily ordered from Amazon.
I’ve put together a list of supplies and tips for making your own (on the assumption that you know how to do basic SCA scribal painting). In my next post, I’ll be giving you more information about putting together a historical gaming collection of your own, including links to information/research and some specific products.
(Reminder that I get a small kickback when you purchase products from the Amazon links in my posts.)
Supplies list for a medieval games box with a painted lid:
Wine gift box — there are lots of box options, but this was the only one I found that was large enough to make a good game board but still inexpensive

Acrylic paint set (option 1) — I used a set of just primary colors but even for this simple project wished I had had more options, so I’ve linked to a slightly better set that I’ll be getting to replace my basic one. If you want to go all out, here’s a set with lots of colors!

Basic inexpensive detail paint brushes, at minimum round size 1 and size 0.

Plus a pencil, eraser, ruler, ultra fine permanent black marker, and access to some inspiration images.
Tips for making your own:
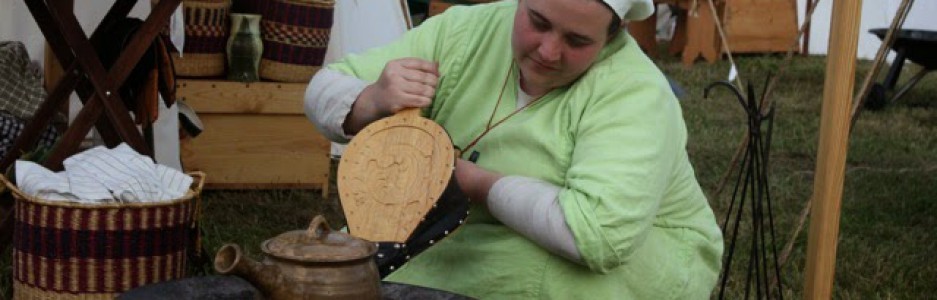
Use pencil to sketch the game board and any designs you want to do; this is where inspiration images are helpful, so have your Googlin’ fingers ready. (You are more than welcome to use mine as the basis for your own! Please copy me!) For glückhaus, the design elements are numbers on each square, and images on the three “special” spaces — a pig on 2, something to symbolize a wedding on 7, and a crown for the royal 12. Historical game boards were often quite lavish, with every bit of space filled up with lush art. That’s not my style, though, and I think that’s okay.
From there this is just like doing scribal painting, but with acrylics and wood instead of paper and gouache. Start with solid colors, layer on any shading and whitework you want, finish by outlining everything in black. I opted to leave the backgrounds blank and keep the design simplified. I also chose to do a generic Gothic style to be more in keeping with my gear and persona even though glückhaus is a Renaissance German game.
I opted for Roman numerals to look more historical and “pips” for those who have a hard time reading them. My pig has a roasting spit (that he’s running away from, ha ha) and I did simple interlocked rings for the wedding; a more historical option for the wedding space would be clasped hands or a fede ring. I added some vinework to fill the space on the 12, and did a simple blue with whitework border around everything.
There are a few things I’d change if I do another one, but overall I am pleased with this addition to my event gear. History was fun! Medieval games are fun! Having my own personalized and fairly nice glückhaus board is a great feeling. Plus, the box has all my other games. Again, I’m working on a follow-up post with more general information about stocking your own historical games box. Stay tuned 🙂


