

Hey so this whole global plague this is fun, yeah? Economic collapse, feeling of hopelessness, constant threat of debilitating illness and/or death? So fun! And I live in the US, so I am definitely 100% not terrified that the literal criminals running the country are going to get me killed! Ha ha! o_o
ANYWAY, while I’ve been home I’ve started actually diving into some of the particularly wacky “someday!” projects that I’ve been dreaming about for years. I love learning by doing, and I’ve always been really drawn to “deep wisdom” types of things like making cordage from tree bark and harvesting wild plants. We’ve been dealing with a major rat infestation in our entire neighborhood, and I was starting to seriously consider learning to tan tiny hides and make myself a cool apocalypse cape, but my wife strongly vetoed that. (Incidentally, before COVID hit, this winter I let a student talk me into mummifying a chicken toe as a little class side project, which inspired me to mummify an entire chicken foot, which I just remembered is in my garage somewhere because I tried to hide it from my wife so she wouldn’t throw it away — I should probably find that.)
One of those things I’ve always wanted to try was digging my own clay and making primitive pottery. I think a lot of people have this on their bucket list, actually; we must all read the same formative books. Lockdown gave me the motivation I needed to actually give it a go — with nowhere to go, why not do weird projects in the yard? It was time-consuming, but not actually that difficult, and every part of this project was 100% free. I’m hoping to do a how-to video at some point, but for now here’s a rough description of my process in case you want to try something like this yourself.

The first step is to dig a hole. It should be a relatively big hole, and the soil should have a high clay content. Save the dirt you dig out of the hole. If you want to use the same hole to pit-fire the clay, you can make it a bit fancier by lining it with bricks, as shown here.
To separate the clay from the rest of the dirt, you’ll take advantage of the fact that clay particles are much, much smaller than the other stuff in your dirt. Put some of the dirt you dug into a bucket and cover it completely with water. Let it soak about a day and stir it every so often. When you’re ready, give it a really vigorous stir and pour the dirty water through a screen into another bucket. This gets the big stuff out. Discard that big stuff and rinse the first bucket well.
Let the dirty water sit for 10-15 minutes. This allows the larger particles (sand, silt) to settle, but leaves the clay behind. While you wait, put a basket or colander in the first bucket and line it with cloth, an old bed sheet folded in half is ideal. Then, carefully pour the water-and-clay suspension into the cloth and let it drain to dry. Full disclosure: I found I had to pour the clay suspension into a third bucket while I waited for the water level in my cloth strainer to go down enough to add more to it, so be flexible about this part; the goal is to have the water catch the clay. It’s sort of like draining cheese. Let the clay drip dry until it’s pliable enough to use. For me this took many days, probably about a week all told.
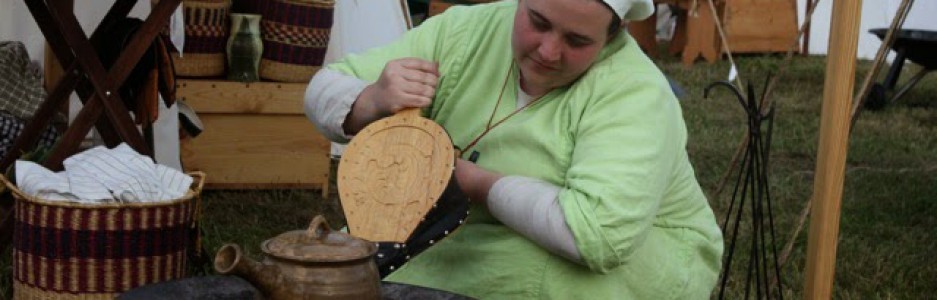
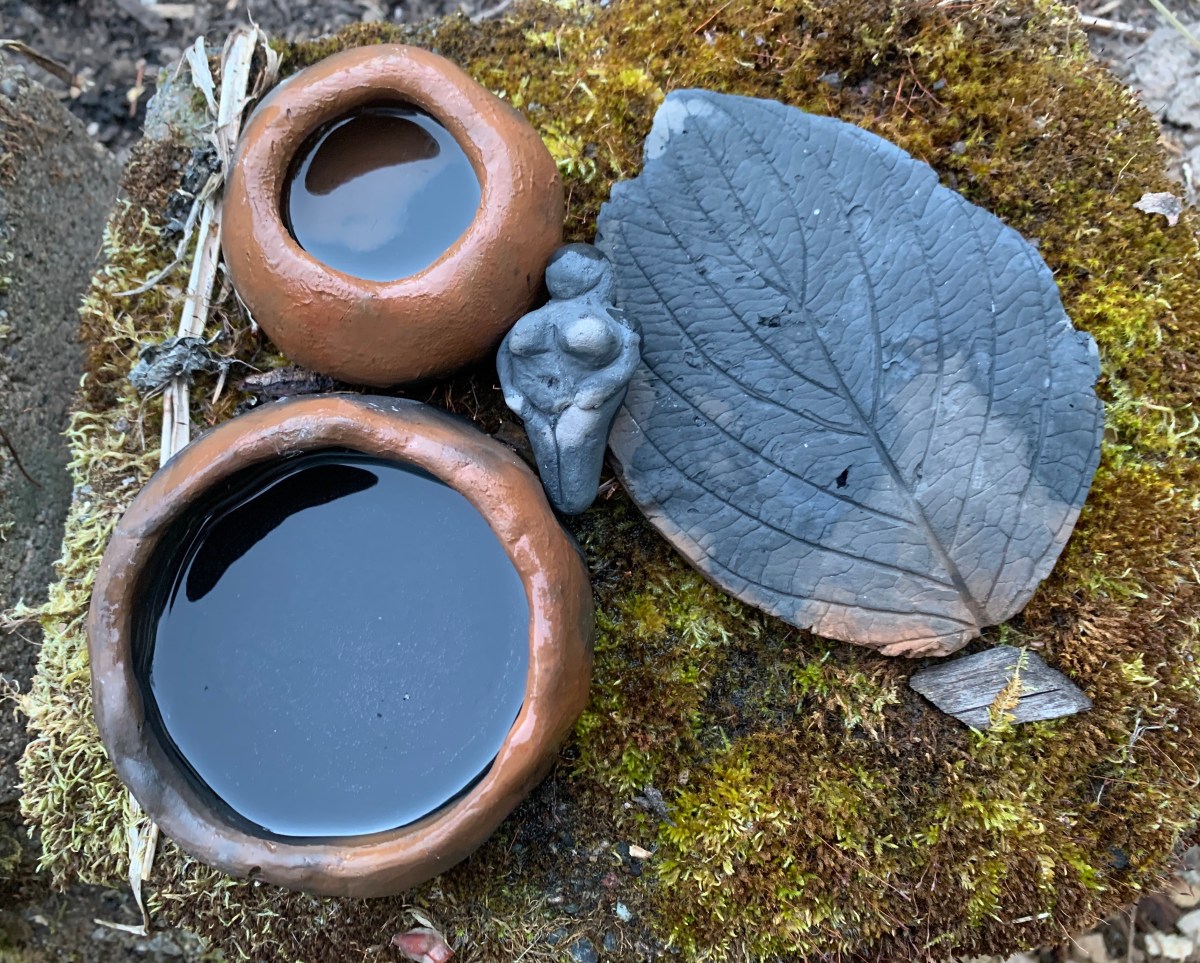
You can wedge the clay to get the air bubbles out, which I didn’t really know how to do so I sort of half-assed that part, then build whatever you want to make. I made pinch pots, a goddess figurine, and used a leaf to make an impression on a thin slab of clay. It’s important to keep your pieces thin enough to dry easily. Once you’re happy with what you’ve made, put them in a safe, covered space and let them air dry as long as you can stand it. I think I made my first round of stuff in like April and didn’t fire them until July. Steam is what makes pots explode, so if you know you didn’t do a great job getting the air bubbles out, drying is crucial.
To fire your pots, line the bottom of your fire pit with wood shavings or sawdust, and use this to fill any spaces in the pots themselves. Arrange the pots in the pit and cover them with flammable stuff — paper, sticks, kindling, wood, etc. Light it on fire (yay!) and make sure the fire gets big and hot, because the clay needs to glow red to undergo the chemical changes of firing.

Let the fire burn down to coals, and make sure the pottery is completely covered. I took the photo above when I was moving stuff around to get coals over that pot. If you want, you can smother the fire at this point by dumping dirt or sand on it. This causes the clay to turn black, which looks really cool. It also means you don’t have to hang out and watch your fire burn all the way down, and it gives your pottery a chance to slowly cool down, which reduces breakage.
The next day, when the sand / dirt is cooled off and you can easily dig into it with your bare hands without fear, it’s time to find out if it worked.
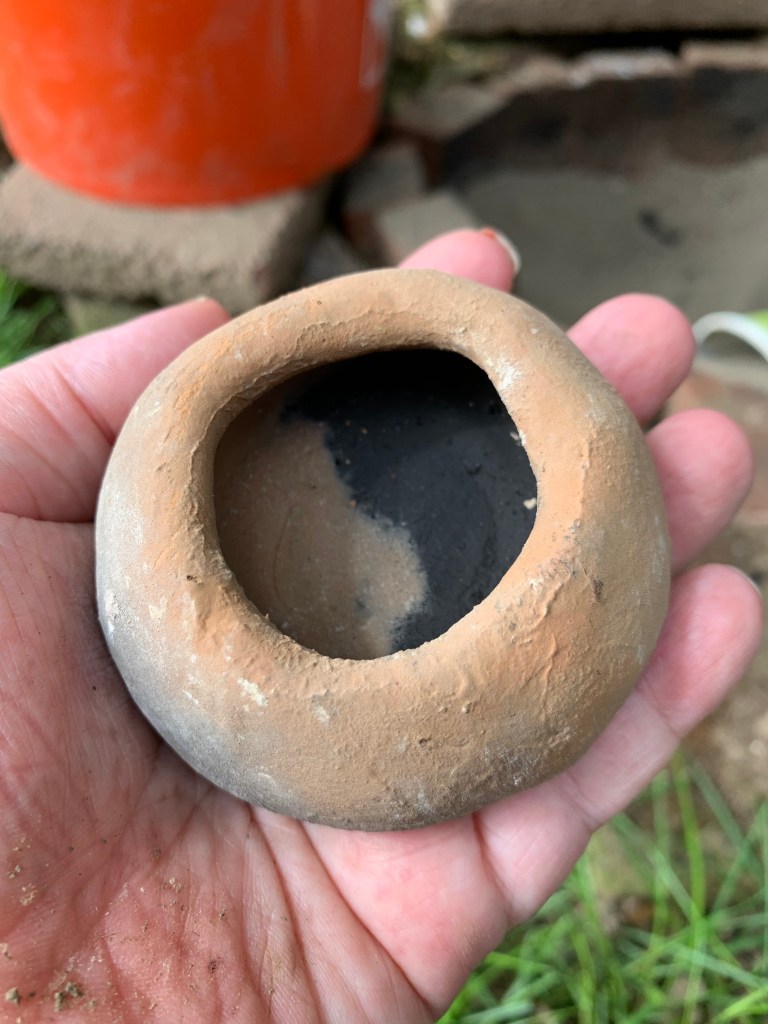
I was so astonished that my pots didn’t break and that they were actually fired that I laughed out loud when I dug them up.
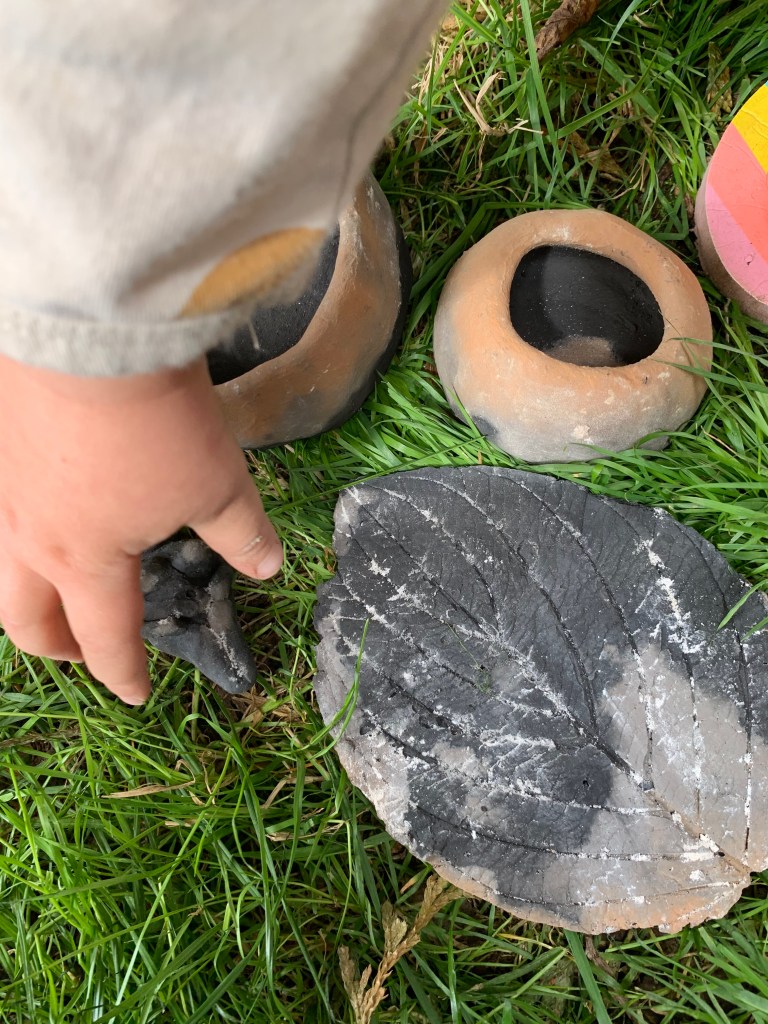
My two-year-old helped dig out the finished pottery. He was most interested in the “puhsun” (person) and “eef” (leaf). Although parts of it aren’t suitable for kids, a lot of this project was something that he and I could do together. He helped me dig the hole, he helped me with stirring and straining all that muddy water, he loved squishing the clay in his hands, and he helped me pick a leaf and press a ball of clay onto it for a second leaf plate (which is still drying). Older kids could have even more fun with this, and the opportunities for learning about history, archeology, art, physics, and chemistry are immense.
I hope this post inspires you to do a project that you’ve always wanted to try, especially if it’s something you’re not an expert at. I knew basically nothing about any of this when I started; I sort of understood some of the science behind it, which probably helped, but really when it comes down to it I just read a lot of guides online and then let myself experiment. You, too, can do the thing! And if you make a cape out of rat pelts, let me know how it goes, because I’m honestly still considering it.
